
Hello and Welcome
Thank you for joining me. Whichever membership or collection you’ve chosen, this page shows you where everything is and how it all works.
Video text: This short video (about three minutes) is the quickest way to find your way around. Have a look before you start your first tutorial.
How Each Tutorial Works
Every tutorial is split into chapters, in bite-sized pieces, so you can work through the process one step at a time. Each one has two sections:
- Tutorial: I go through the whole process with full narration, explaining what I’m doing and why.
- Real Time: you can see every single pencil stroke I make. This section isn’t narrated, so you can follow along while listening to your own music or a podcast.
It’s completely up to you whether you use both sections or just one.
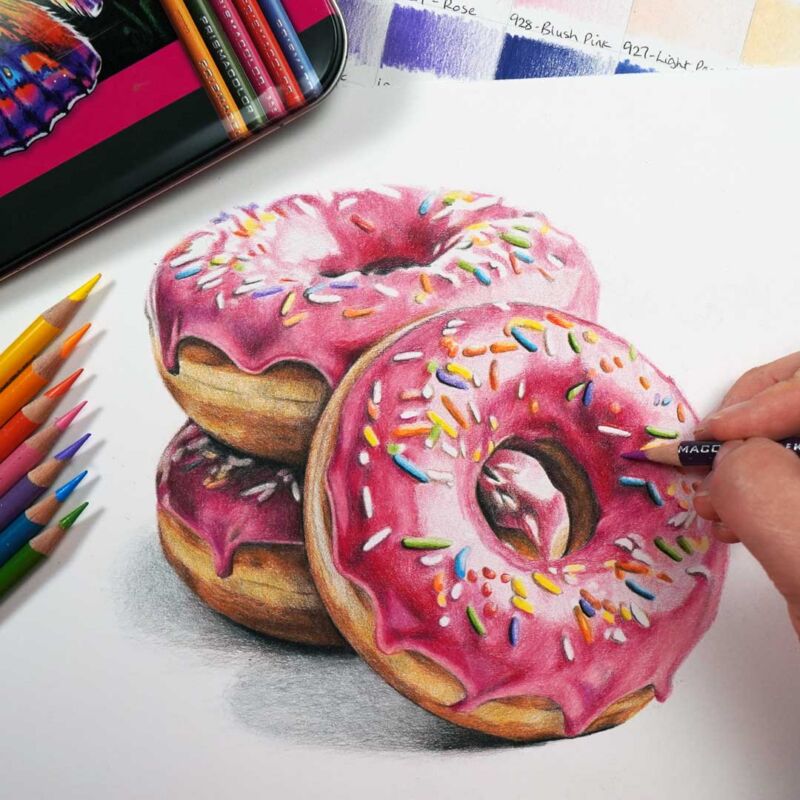

Inside Every Tutorial
In the description you’ll find the full list of materials. The Resources tab has everything else you need:
On a computer or iPad, the Resources tab is on the left. On a phone, it’s in the three lines at the top.
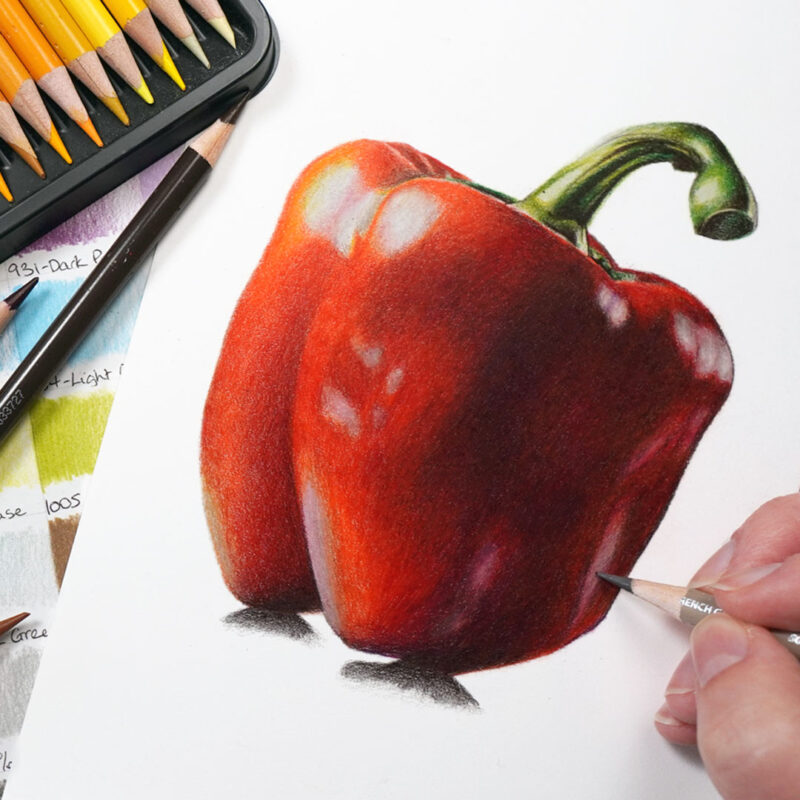
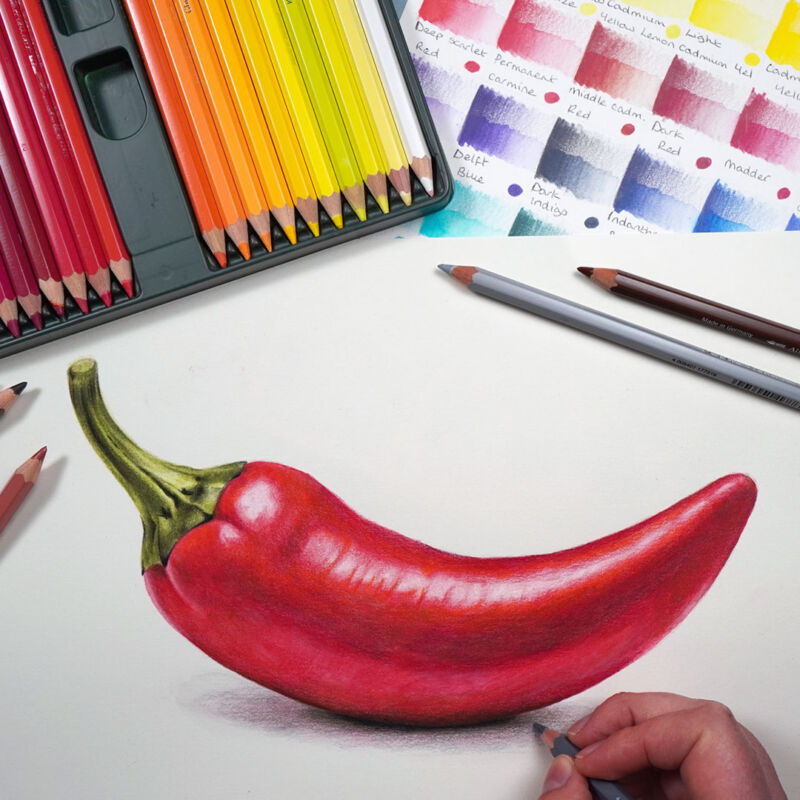
Don’t have the same pencils? Don’t let the brand of pencils I use decide what you can draw. You can still follow the tutorial. Use the colour swatches in the Resources tab to help you find the closest substitutions. My Materials page lists what I use.
Sketch Outlines
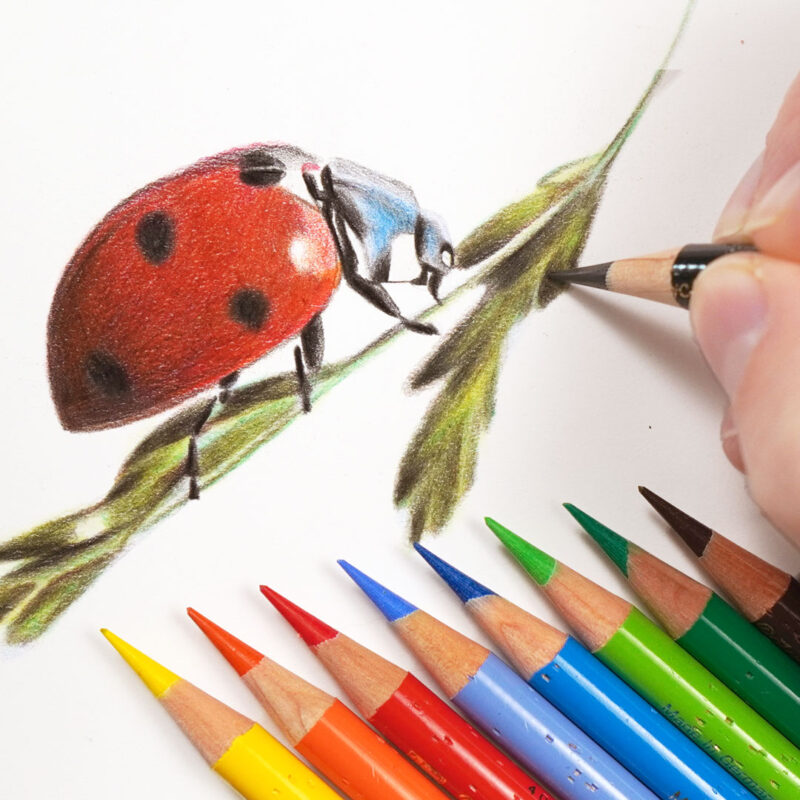
For every tutorial, I start with the sketch already completed, so you can use my outlines as they are. If you’d like to learn to create your own, I have full courses showing the method I use. The ladybird course is a really simple, beginner-friendly place to start.
The choice is yours, whichever way you’d like to approach the sketch.

Staying in Touch
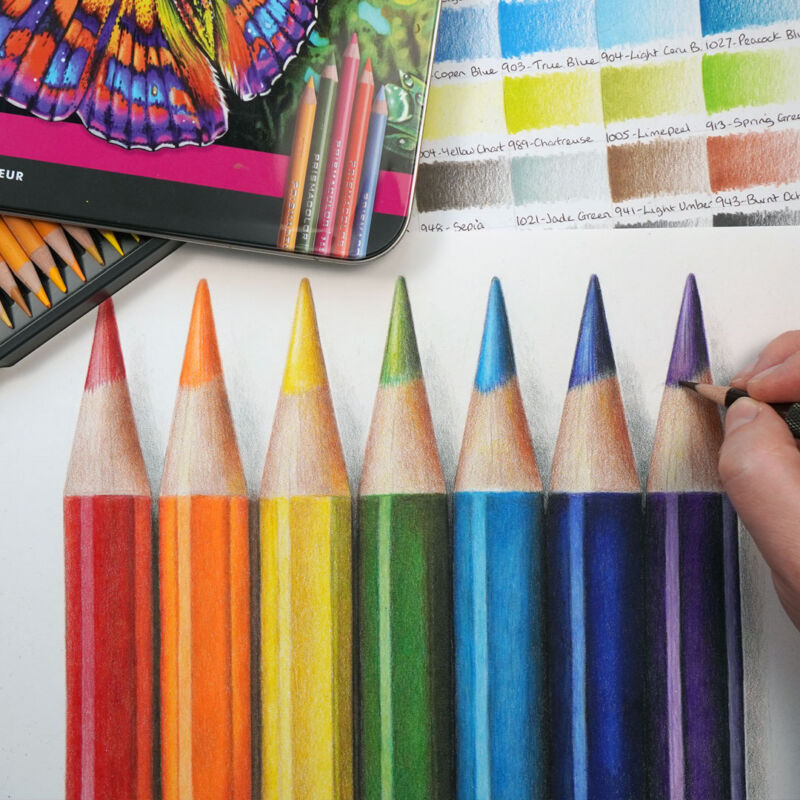
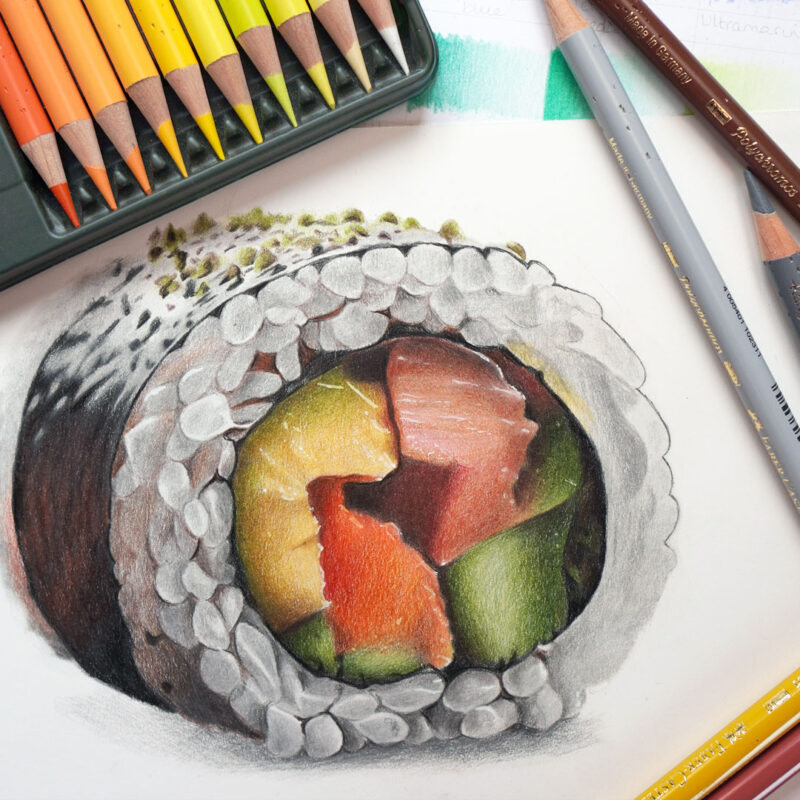
The newsletter isn’t part of your membership or collection, so you’ll only receive it if you sign up. If you join, you can have a bonus tutorial to draw a sweet little bow using just three Polychromos pencils, and you’ll hear about my latest finished drawings, seasonal ideas and news of new tutorials. If you have a question, you’ll find answers in the FAQs, or you can email me at Gemmachambersart@gmail.com.